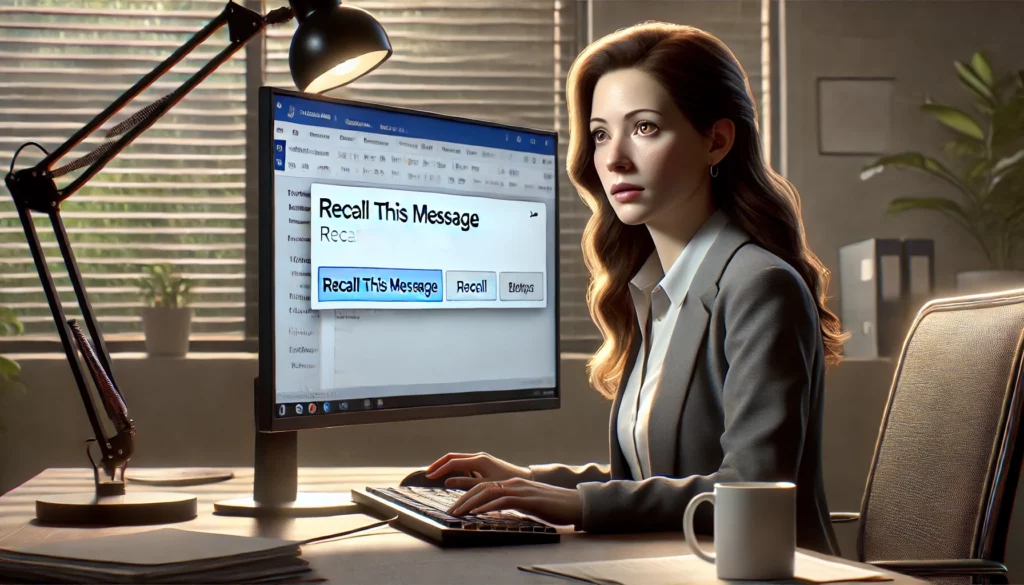
Sending an email by mistake can be frustrating, especially if it contains errors, missing attachments, or was sent to the wrong recipient. Fortunately, Microsoft Outlook offers a feature that allows users to recall an email, provided certain conditions are met. In this article, we will guide you step by step on how to recall an email in Outlook and ensure better email management in the future.
1. Understanding Email Recall in Outlook
The email recall feature in Outlook allows users to retrieve an email that has already been sent, preventing the recipient from reading it. However, this feature has some limitations:
- The recipient must be using Microsoft Outlook with an Exchange or Microsoft 365 email account.
- The email must not have been opened by the recipient.
- The recall feature does not work with emails sent to external addresses (e.g., Gmail, Yahoo, or other email providers).
- Both the sender and recipient must be in the same organization.
If these conditions are met, you can proceed with recalling the email.
2. Steps to Recall an Email in Outlook
Follow these steps to recall an email in Outlook:
Step 1: Open the Sent Items Folder
Once an email is sent, it is stored in the Sent Items folder. To begin the recall process, navigate to this folder in Outlook.
Step 2: Select the Email to Recall
Find the email you want to recall and double-click to open it in a new window. The recall option is only available when the email is opened separately, not from the preview pane.
Step 3: Access the Recall Feature
In the opened email window:
- Click on the Message tab.
- Select Actions from the ribbon.
- Click on Recall This Message.
Step 4: Choose a Recall Option
A dialog box will appear with two options:
- Delete unread copies of this message – This removes the email from the recipient’s inbox if it has not been opened.
- Delete unread copies and replace with a new message – This option allows you to send a corrected version of the email after recalling the original one.
Select the appropriate option and click OK.
Step 5: Track the Recall Status (Optional)
Outlook allows you to receive notifications on whether the recall was successful. If you want to track the status:
- Check the box for Tell me if recall succeeds or fails for each recipient before clicking OK.
- You will receive an email notification about the recall attempt.
3. Alternative Solutions If Recall Fails
If the recall attempt fails or the recipient has already opened the email, consider these alternative solutions:
- Send a Follow-up Email: Quickly send another email apologizing for the mistake and providing the correct information.
- Use the Delay Send Feature: Outlook allows you to delay sending emails to give you time to review before they are actually sent.
- Use Email Encryption: If you frequently send sensitive emails, consider encryption options that allow better control over sent messages.
4. Preventing Future Email Mistakes
To minimize the chances of needing to recall an email, follow these best practices:
- Double-check recipients and content before sending.
- Enable Delay Send to allow a few minutes to review emails before they are sent.
- Use Email Templates to avoid repetitive errors.
- Confirm Attachments to ensure all necessary files are included.
Conclusion
Recalling an email in Outlook can be a lifesaver, but it comes with limitations. If the recall attempt fails, consider alternative approaches like sending a follow-up email or enabling delay send for future emails. By adopting careful email practices, you can reduce the likelihood of sending incorrect emails and maintain professional communication.
Complementary: How to Schedule an Email in Outlook
In addition to recalling emails, scheduling them can help you manage communication more effectively. To schedule an email in Outlook:
- Compose your email as usual.
- Click on Options and select Delay Delivery.
- Under Delivery options, check Do not deliver before and choose the desired date and time.
- Click Send – the email will be stored in the Outbox and sent automatically at the scheduled time.
By using these features, you can have better control over your email communication and reduce errors.

Cuando las cookies no son suficientes: cómo el rastreo del navegador amenaza tu privacidad en línea (y cómo combatirlo)

The Actual Story of the Top Secret Slot Strategy

Trump confirma captura de Maduro en conferencia desde Mar-a-Lago

Imagen oficial confirma captura de Maduro: publicada por Trump, replicada por la Casa Blanca y validada como auténtica

Deeptrack Gotham: imagen de Maduro con uniforme es auténtica según análisis

Nueva imagen de Maduro capturado también presenta signos de manipulación digital

Corina Machado: “Esta es la hora de los ciudadanos”

Habrá que hacer algo con México: Trump tras ataque en Venezuela

Maduro rumbo a Nueva York y Delcy en Moscú: lo que se sabe hasta ahora

Imagen de la captura de Maduro: análisis preliminar sugiere posible manipulación digital


